How to record an acoustic concert with a pair of microphones?
Professional concert recording often uses many microphones so that each instrument is recorded onto a separate audio track. The material is then mixed in a laborious post-production process to produce a stereo recording. This approach is not always the only option — nor always the best one. There are hundreds of concert recordings made with just two microphones that match multi-track recordings in quality. In this article we want to share our knowledge of how to record an acoustic concert well using two microphones.
Before we begin
Achieving a professional two-microphone concert recording requires awareness of a few things:
- stereo panorama recording on 2 microphones works best for acoustic, classical, chamber concerts, and choir recordings
- the venue itself must have very good acoustics — the sound in the room must sound good, selective, and full. This does not mean the room must be heavily treated — some spaces, such as a church, can have reverb/acoustics that enhance the recording, especially for choir recordings
Recording equipment
If the above conditions are met, we can successfully record an acoustic concert with a pair of microphones. For this you will need:
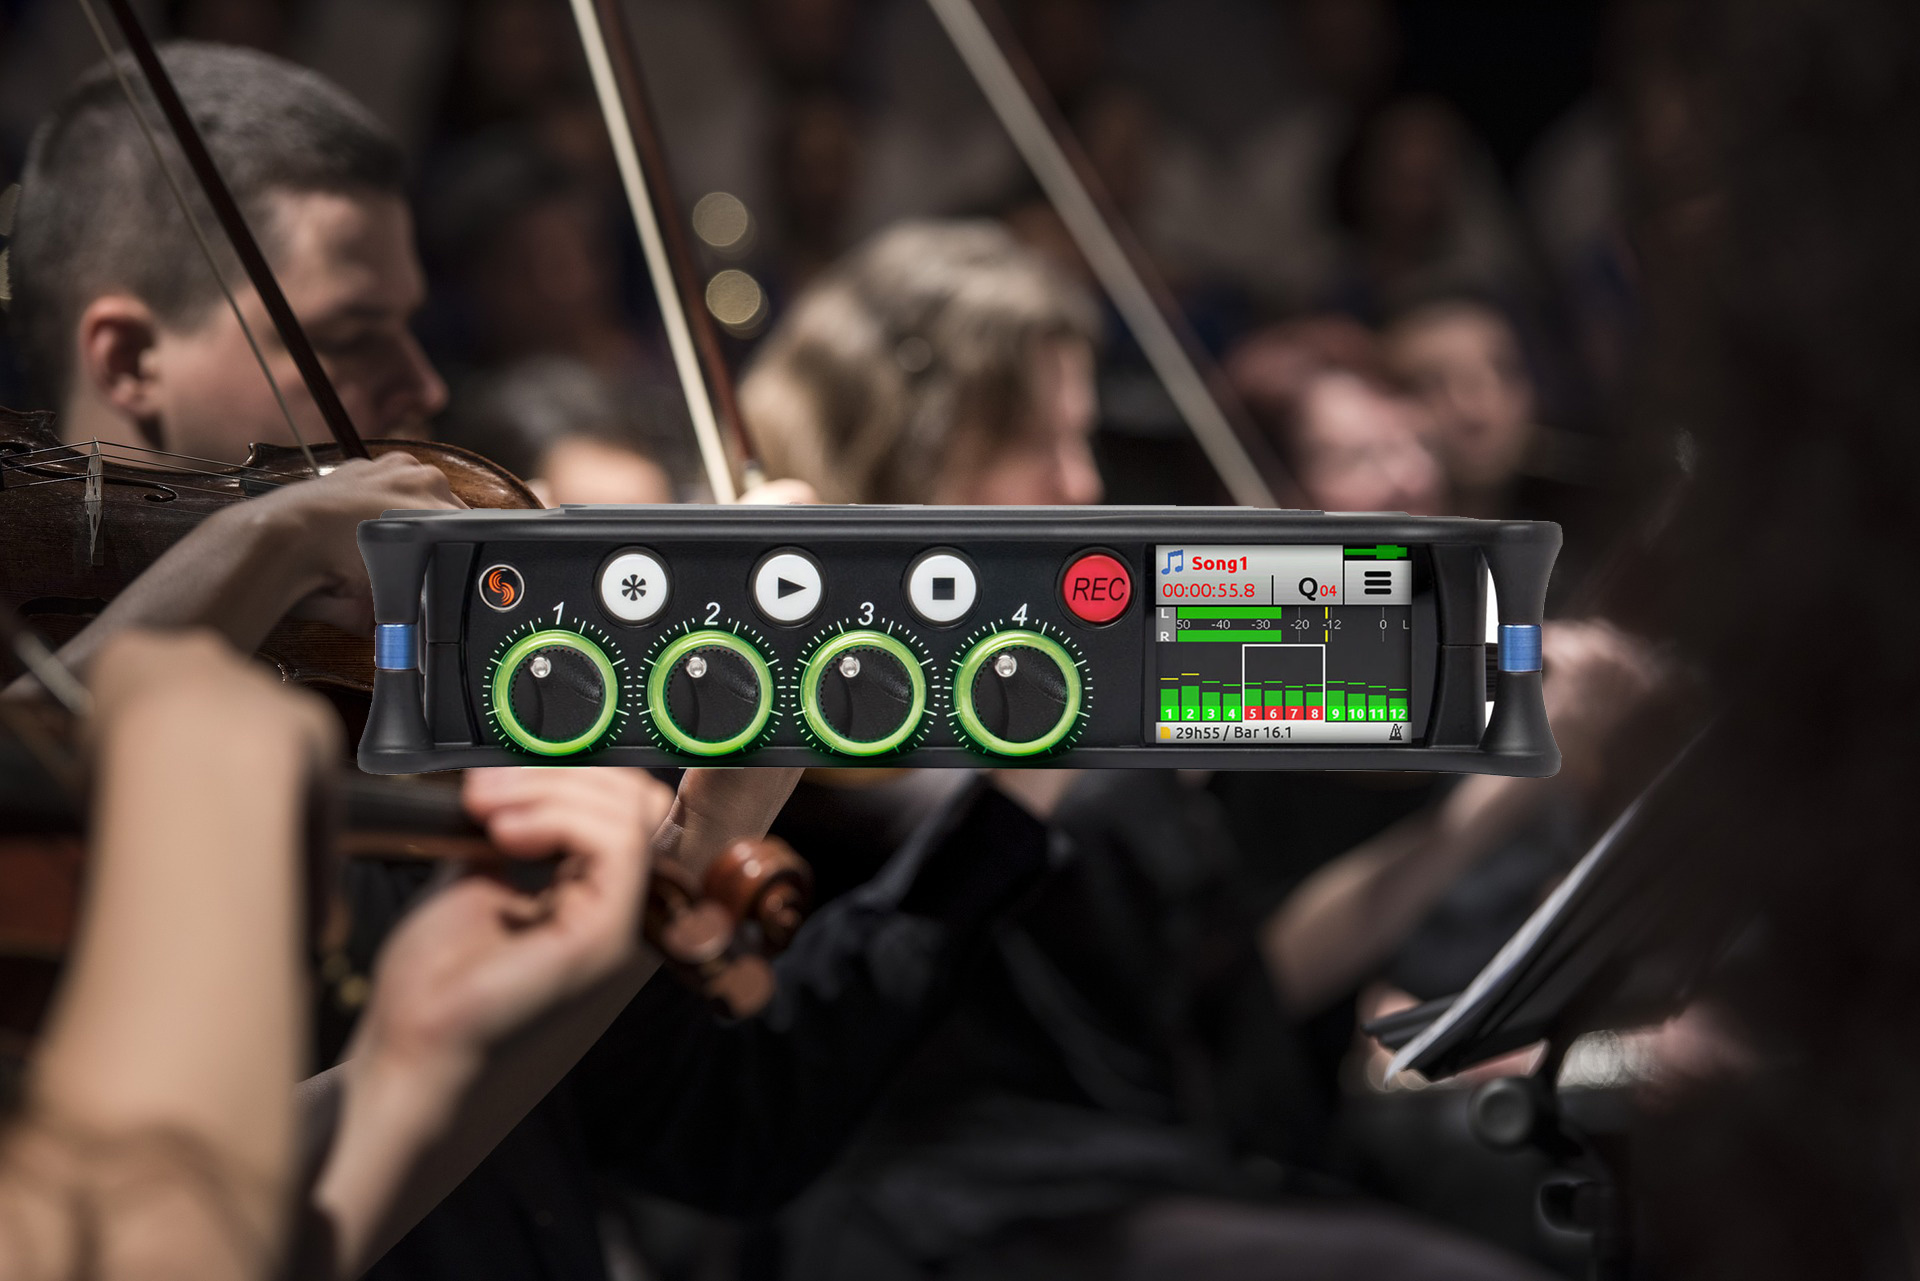
- an audio recorder (e.g. Sound Devices MixPre-6 or the more budget-friendly Zoom H6); if your camera has 2 XLR audio inputs and Phantom Power, you can record directly into the camera (although recording to a separate recorder generally produces better quality)
- good headphones (ideally closed-back)
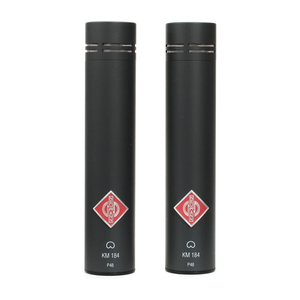
- a pair of microphones — in our case we use the excellent Neumann KM184 microphones, which are sold in matched pairs, with the manufacturer ensuring both units have identical sonic characteristics
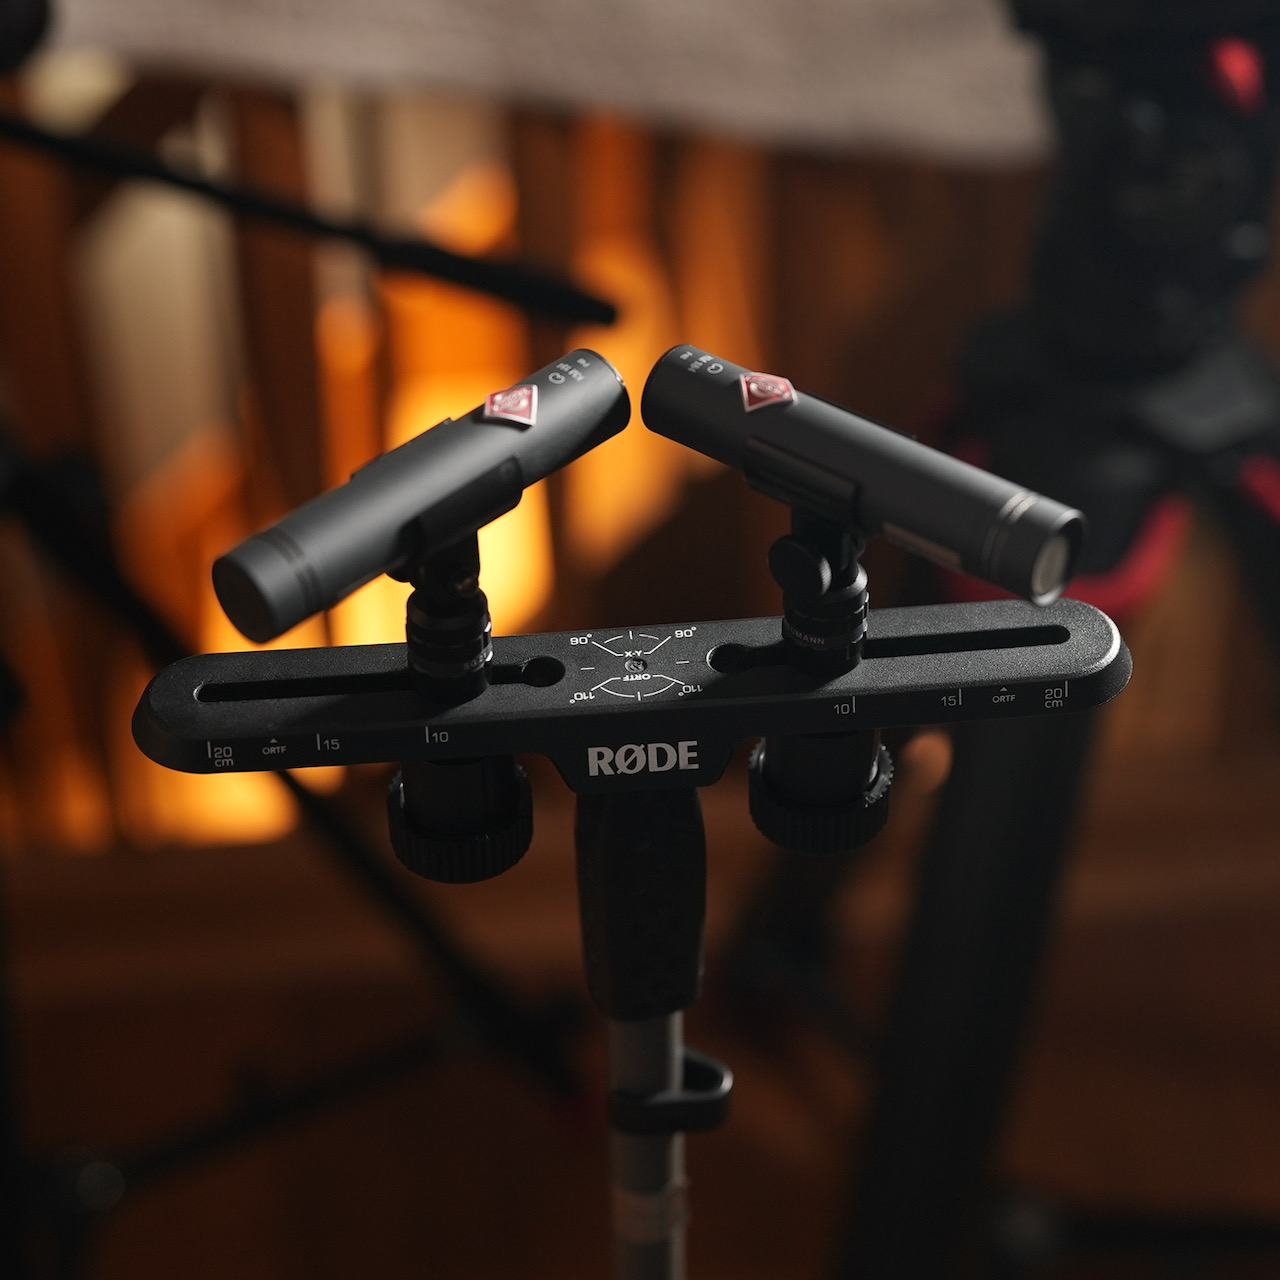
- a microphone stand with a stereo bar — allows correct positioning of the two microphones relative to each other. If you do not have a stereo bar, two separate microphone stands can be used
Microphone placement and configuration
How the pair of microphones is positioned relative to each other has a major influence on the quality and character of the recording. There are two main techniques for stereo microphone placement:
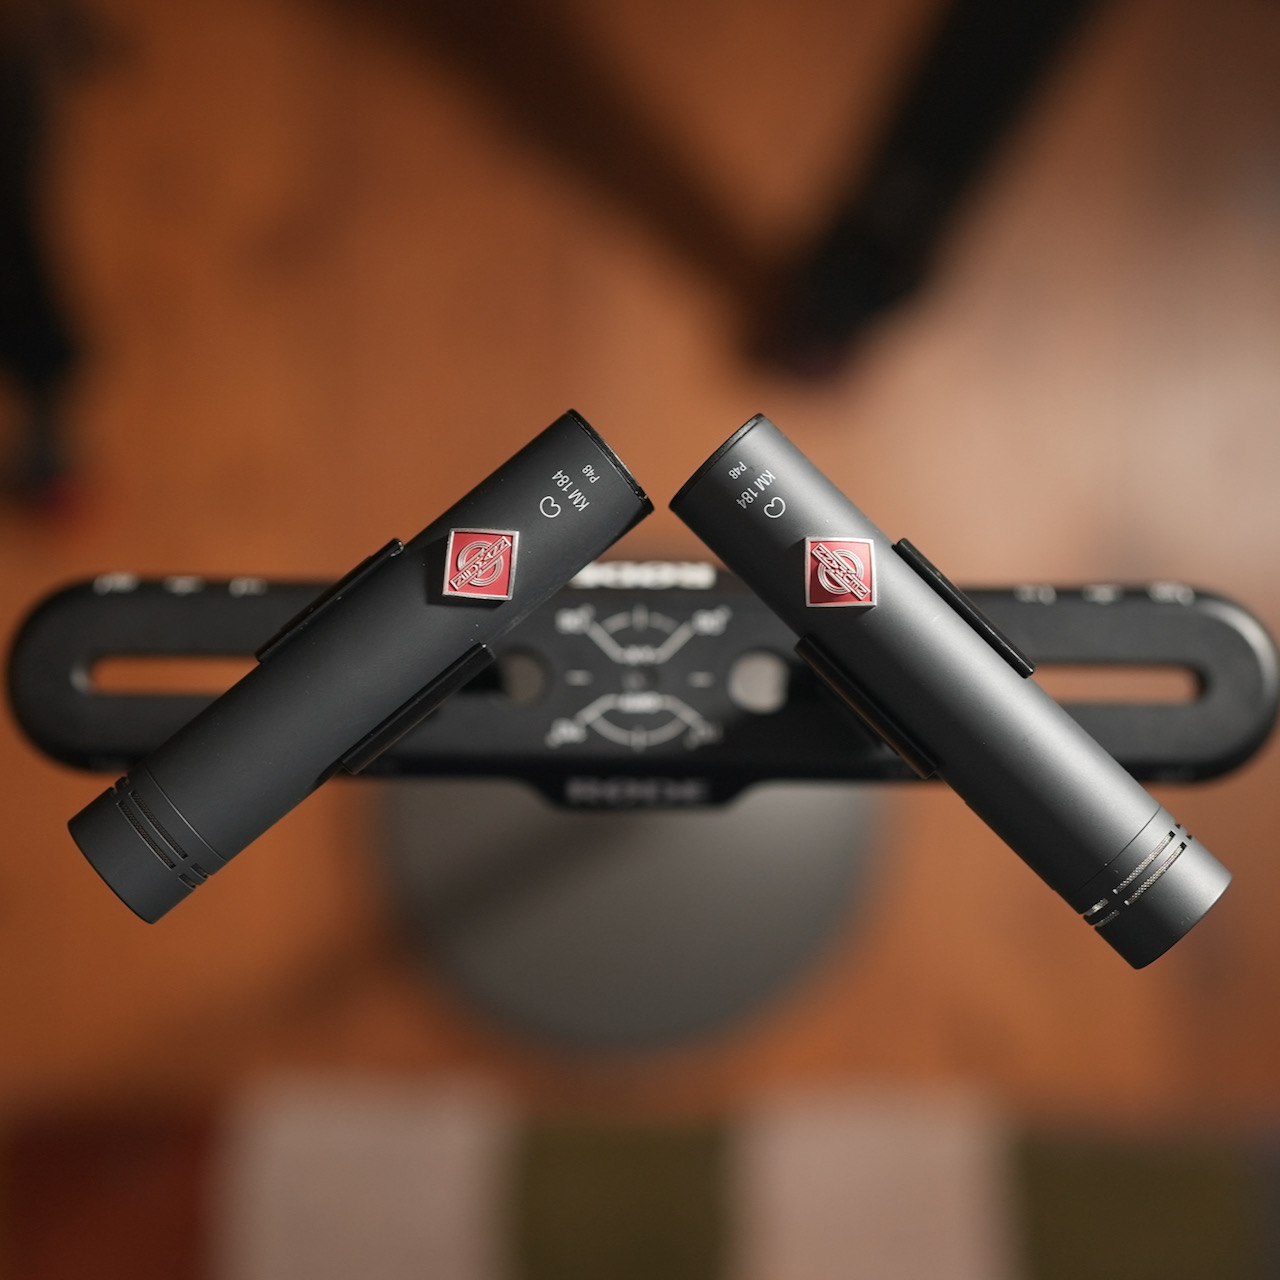
- XY — the microphone capsules are placed one above the other, with the microphones angled at 90 degrees to each other. This technique produces somewhat less pronounced stereo width and room character than the ORTF technique below. It emphasises the sound source more and the room (space) less. When using this technique, be careful not to let the capsules touch each other — microphone contact may be audible in the recording. (see gallery photo)
- ORTF — in this technique the microphones are angled at 110 degrees to each other with their capsules approximately 17 cm apart. The microphones "face" in opposite directions. This technique produces more pronounced stereo width while maintaining good mono compatibility of the recording. (see gallery photo)
- Other techniques — many other stereo microphone placement techniques exist, such as AB and NOS. Given the introductory nature of this article, we will not go into them here.
Once you have chosen the appropriate placement technique, it is time to position the pair of microphones on the stand at the right distance from the sound source. The best approach is to try the microphones at various distances from the ensemble and assess the stereo panorama quality through headphones. Remember that Neumann microphones, like most professional mics, require Phantom Power to be enabled on each track in the recorder. The recorded audio level should average around -12 dB. Make sure the audio is not clipping in the recorder — the recording level should not be too high.
A few tips
- the further from the sound source, the less pronounced the low frequencies (bass) of the recorded ensemble will be
- the further from the sound source, the more audible the character of the room (reverb). For example, to reduce the amount of room reverb in the recording, move the microphones closer to the source
- often the amount of reverb in the room changes when the audience enters, and the room sounds different — try to monitor the recording after the audience has been admitted too
- if the room is too prominently audible in the recording (regardless of distance from the source), consider switching from ORTF to XY
- microphone height should roughly correspond to the average height of the sound source, and it is generally best to avoid placing microphones close to walls or the floor, as this can negatively affect recording quality due to reflections
- in most cases the ideal microphone placement will not coincide with the camera position (if recording both audio and video). Position the microphones independently of the camera, even if the camera is serving as the recorder
- for acoustic concert recordings it is worth recording at higher sample rates — 48 kHz is a better choice than 44.1 kHz; it is also worth recording at a higher bit depth, e.g. 24 bit, or 32 bit if supported by the recorder
- if you have an additional microphone available, you can use it to record the most important instrument/vocalist in the ensemble and, if needed, bring that track up in the mix alongside the stereo panorama — this can produce spectacular results
Gallery

Related products available for rent
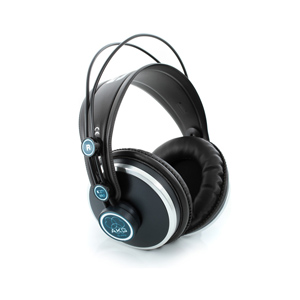
Słuchawki AKG K271 MKII
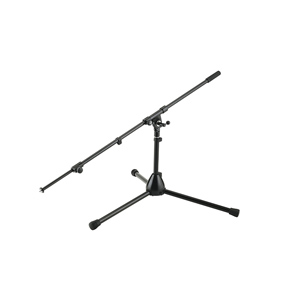
Statyw mikrofonowy instrumentalny K&M
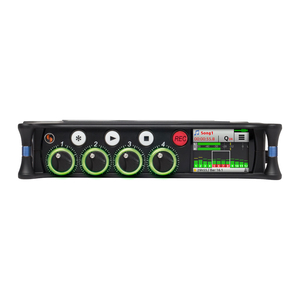
Sound Devices MixPre-6M rekorder audio